

How I Installed an Inverter
Some projects take way longer than you expect; here is one such project.
The good news is that after dabbling with it for over a year, it's finally finished, and it works like a charm.
Let's start at the beginning
Below is a picture of the original factory-installed generator that worked fine for almost 20 years.
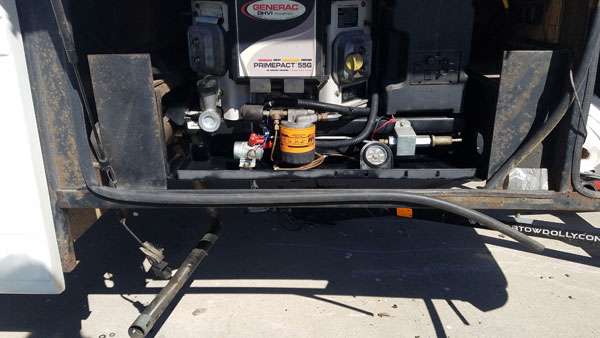
It started having problems about two years ago, and the problems kept getting worse. Here are some of the issues.
Sometimes the engine would crank, but it wouldn't put out any voltage. It started leaking oil--a little to begin with, and near the end, it was leaking about a cup full every 30 minutes. Finally, the electric starter quit working (it didn't have a pull start). That was the last straw.
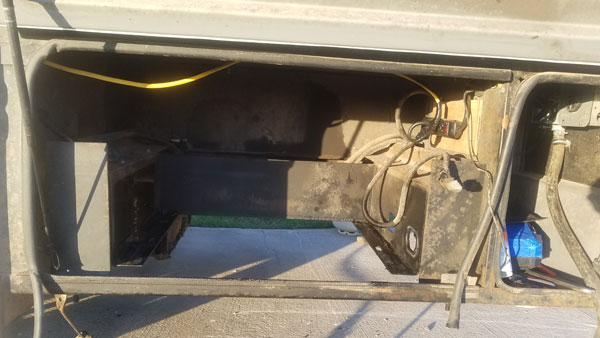
Removing the old generator wasn't an easy job, but below is a picture of the empty storage area with the original generator removed.
Finally, here is a picture of the new inverter installed on a slide-out tray.
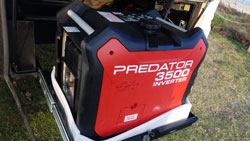
The white material around the bottom of the inverter is some foam that was included in the box the generator came in. I took the wheels off of the generator so it wouldn't roll around. I didn't want it to rattle with metal against metal, so I placed the foam under and around the generator. On the front of the generator (where the air intake is), I cut out a section of the foam to make sure it didn't impede the airflow.
When I want to use the generator, I pull the tray out, plug the power cable into the inverter socket, connect the flexible metal exhaust hose, and the generator is ready to use.
Here are some of the advantages of the new inverter over the old conventional generator.
- It's not as loud
- It produces a pure sinewave output
- It's more efficient. It only uses as much gas as necessary to produce the power output being called for.
- And of course, two of the most significant advantages of the new inverter are that it's new and it's reliable.
Bottom line: Below is a link to an article I posted a little over a year ago when I first started working on this project. Some of the pictures are the same, but this earlier article gives more background information about the project. In the earlier article, you can see a picture and description of the pull-out tray that I installed.